Why You Should Start Using Procreate: The Ultimate Digital Art App for Creatives

Procreate is a powerful and versatile digital art app that offers a wealth of features and tools for artists of all levels. Whether you’re a professional artist, hobbyist, or just starting out, Procreate has something to offer everyone. In this blog post, we’ll explore some of the reasons why you should start using Procreate and what makes it a must-have tool for creative professionals.

  1. Intuitive User Interface

One of the biggest advantages of Procreate is its intuitive and user-friendly interface. The app is designed to make it easy for artists to get started and to quickly create professional-looking artwork. All of the tools are organized in an easy-to-navigate manner, making it simple to find what you need when you need it. The interface also includes customizable gestures and shortcuts, allowing you to streamline your workflow and work faster.

  1. Wide Range of Tools and Brushes

Procreate offers a vast selection of tools and brushes, including pencils, pens, watercolors, and more. Each brush is highly customizable, allowing you to adjust the size, opacity, and pressure sensitivity to create the exact look you’re after. Whether you’re working on fine-tuned details or large, sweeping strokes, Procreate has the tools to get the job done.

  1. High-Quality Output

Procreate is designed to deliver high-quality output, no matter what type of artwork you’re creating. With support for up to 8K resolution and an advanced color management system, you can be confident that your artwork will look stunning and professional. Procreate also supports multiple file formats, making it easy to export your artwork for use in other applications or for print.

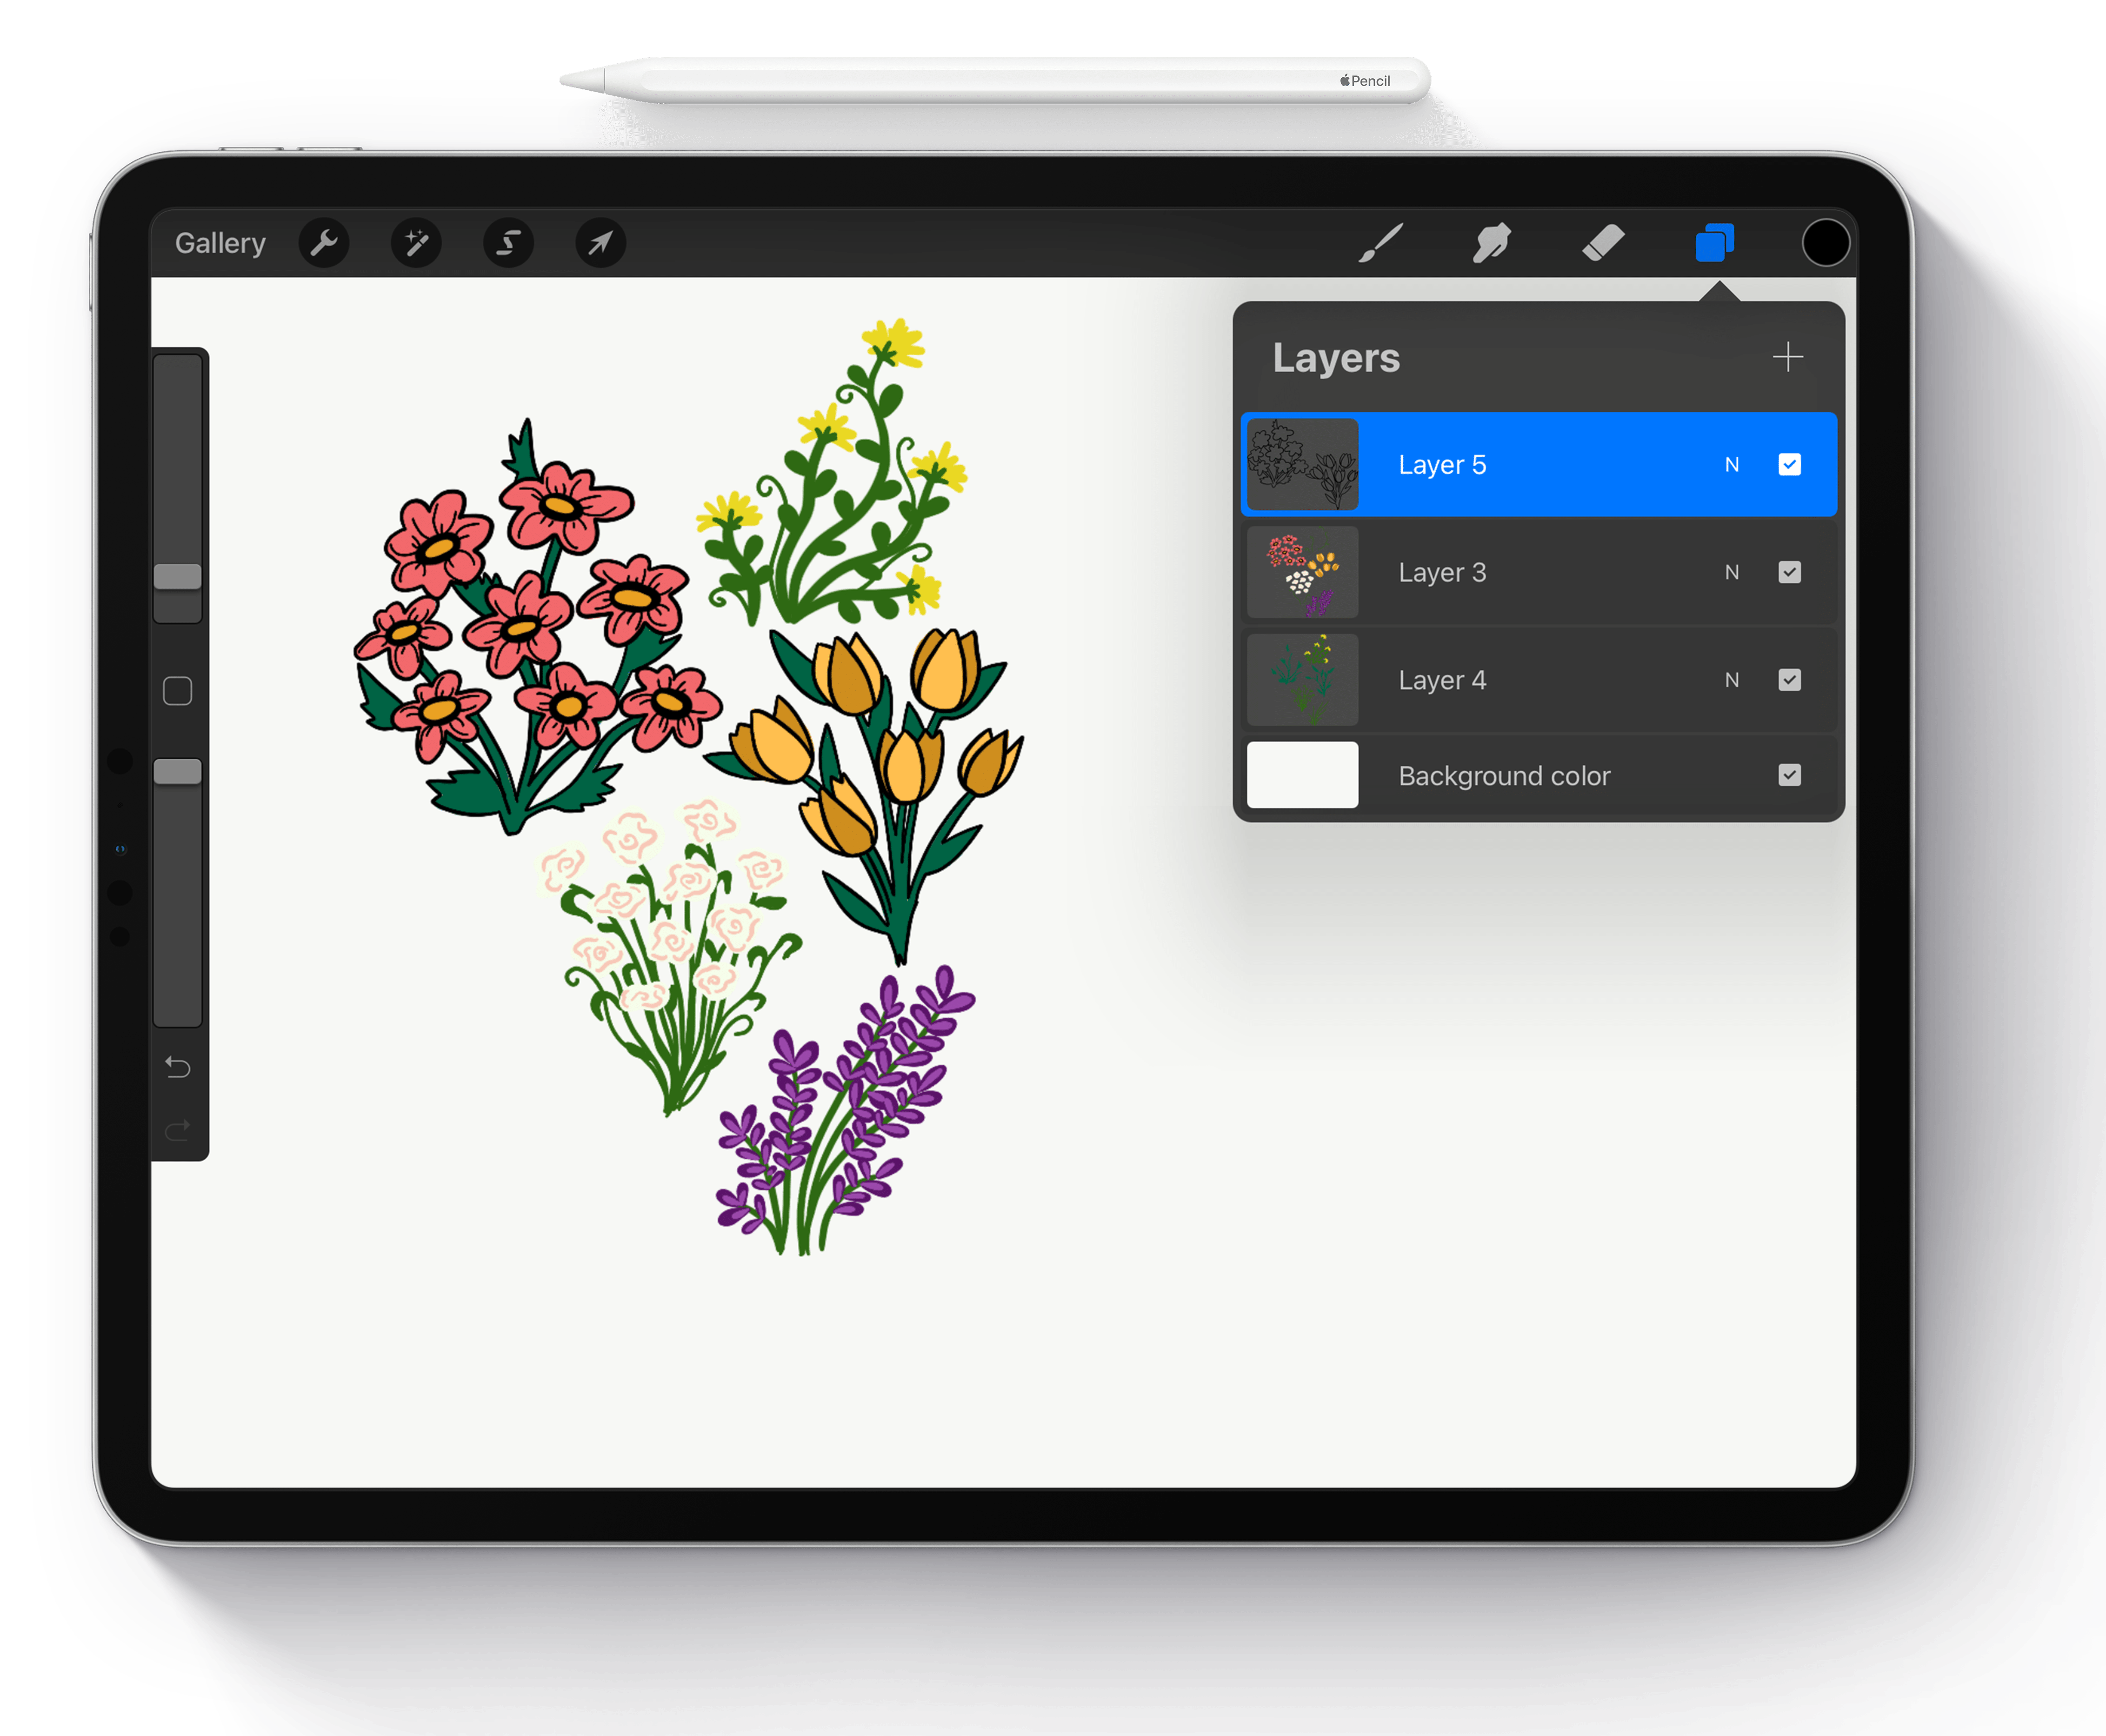
  1. Advanced Layers System

Procreate’s advanced layer system allows you to work with multiple layers in your artwork, making it easier to create complex compositions. Layers can be moved, duplicated, merged, and more, giving you complete control over your artwork. The layer system also makes it easy to create non-destructive edits, allowing you to make changes without affecting your original artwork.

  1. Time-Lapse Recording

Procreate’s time-lapse recording feature is a fun and engaging way to share your creative process with others. With this feature, you can record your artwork being created in real-time, and then share the time-lapse video with others. This is a great way to showcase your skills and to give others a glimpse into the creative process behind your work.

In conclusion, Procreate is a powerful and versatile digital art app that offers a wide range of features and tools for artists of all levels. Whether you’re a professional artist, hobbyist, or just starting out, Procreate has something to offer. So why not download the app today and start exploring all the amazing features and tools that Procreate has to offer!
10 Quick Tips on Drawing

Drawing is defined as the action of making marks on any surface with any mark-making material. It is clear, by this definition, that anyone can draw. If you can write your name, well then- you can draw. Now that we’ve established that, we all know that some of us can draw better than others. Becoming skilled at drawing requires several factors coming together. Some of these factors include desire, instruction, practice, time, and more practice. I decided to put together this list of quick tips on drawing so that you can immediately see results in your drawing abilities. This list of tips on drawing is not a “catch all” formula for drawing. They are purely just some tips that I have picked up along the way that have helped me in my drawing.

1. Drawing is a Skill- This means that drawing is not some magical activity that some people are born with the ability to do. A skill is something that can be taught and most importantly-learned. If you want to draw, draw better, or draw as a professional- you can. Anyone can become skilled at drawing. Don’t ever say, “I can’t draw.”

2. Drawing is At Least 50% Observation- Drawing is about seeing. Have you ever taken a photo of something without pointing the camera at it? Of course you haven’t. Yet so many people think they can draw well without looking at an object. Then they become disappointed that their drawings don’t look representational. You must look at objects in order to draw them. In fact, you need to look at objects a lot in order to draw them. I suggest that the amount of time you should spend looking at your object should be half the time it takes to complete the drawing. Drawing is at least 50% observation. If you want to draw an elephant, then look at an elephant. Really study it. Understand why you see it that way, then draw it. Everyone knows that one way to cheat on a test is to look at someone else’s paper. When you draw, look at your object- the answers are there. Just put them on your paper.

3. Use Resources- This one is related to #2. Gather photos or better yet take photos of objects if you can’t draw them in person. Some people may forsake me for this one. It’s just not possible to draw everything from life. So when you can’t be in the African Savannah to draw that lion, use a photo or three.

4. Look for Basic Shapes- Everything in the world can be simplified into basic shapes. When you are studying your subject, try to pick out the basic shapes that make up the over all shape. Usually these shapes are pretty easy to draw. Draw the shapes then draw the contours (outlines). ( This tip will help you with your speed as well.)

5. Good Drawings Have a Full Range of Value- Value is the darkness or lightness of a color. So value is about light. We can’t see without light, therefore we see things because of value. It’s not about color.(Although color is important too.) Make a value scale and then use it. Make sure that your drawing has a full range of value. (i.e. All of the values on your value scale.) You define the light source through your use of value.

6. Use Line Quality- Line quality is the thickness or thinness of a line. If your drawing is a line drawing, you need to consider line quality. Draw your lines thicker in some areas and thinner in other areas. This will add interest to your drawing as well as variety.

7. Stay Consistent with Your Style- Make sure that you start and finish your drawings with the same style. If you start your drawing loose and gestural, kept it that way. If your drawing begins tight and precise, finish it that way. Make sure the drawing looks like the same artist drew everything on the surface. This will insure that your drawing is unified and harmonious.

8. Know your Medium- Make sure that you understand the correct way to use the medium that you are using for your drawing. It’s fine to experiment, but knowing and understanding your limitations with a medium goes a long way.

9. Loosen Up- Drawing doesn’t have to be stiff. In fact, it shouldn’t be. For example, when you are trying to define the contour of an object, draw several light lines. You have a better chance of “finding” the right line when you draw several of them. (You have a better chance of winning the lottery if you buy several tickets instead of just one.) Try holding the pencil differently than how you hold it when you write. Draw with your shoulder instead of your wrist by moving your whole arm when you make a mark.

10. Practice, Practice, Practice, and then Practice- This is the best tip that there is. You must practice. This is true of any skill. Keep a sketchbook and draw literally everything that you see. Draw everyday. When you can’t draw, look at objects and imagine how you would draw them. What shapes are there? What values are there? Where is the light source? What medium would I use? Drawing can take place between your ears.

Article Source: http://EzineArticles.com/4256457

OH HEY

looking for something?

© 2019-2023 Amanda McCarty Design. All Rights Reserved.